An example of self-help installation of recuperation pipelines in a residential
Do-it-yourself recuperation pipeline installation
Are you thinking about implementing a ventilation system with recovery or have you already decided and are looking for information about implementation? In this article, I would like to show you how to handle the implementation yourself.
Many clients would like to assemble by themselves, but at first everything may seem too complicated and it may discourage you. At the end of the article, you should have an idea of what self-help implementation entails and how to manage everything without complications.
We will go step by step.
I. How to start
If you are planning to install a recovery system yourself, it is important to prepare properly. Even a skilled person who wants to install most of the system himself can face many pitfalls. This also applies to an experienced installer, which is why it is necessary to prepare thoroughly before the installation itself.
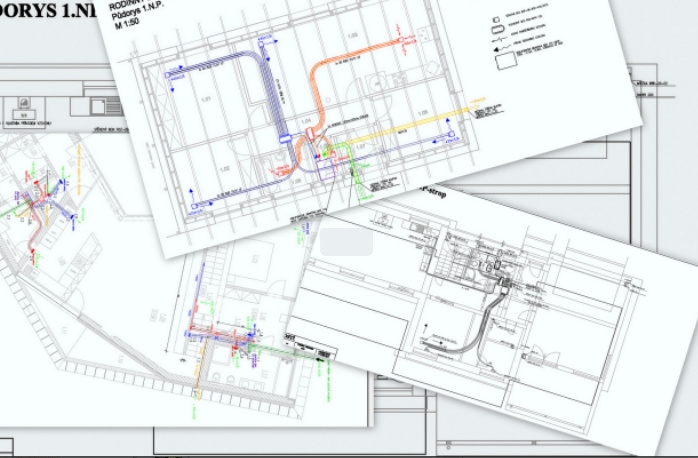
Of course, it should always be installed according to the correct materials. For example, our free design or paid authorized project can be used for this, we also provide that. In the proposal / project , the pipe routes, the location of the outlet, the recuperation units are indicated, and most importantly, the system is designed to be functional. The choice of recovery unit is also very important. It must handle the designed air flows and should have a power reserve (i.e. for a flow of 240 m3/h, the unit should handle at least 300 m3/h). The type of recovery unit will also affect the piping from the unit and its diameter.
When checking the routes, it is necessary to pay particular attention to the height of the installation gap in which the pipeline will lead. Then collisions with lintels, ducts and reinforced concrete crowns. It is also important to think through the composition of the ceilings and the roof so that all piping, except for the intake (exterior-unit), is not only inside the thermal envelope, but also the airtight envelope (vapor-proof layer, etc.). Pipes need to be anchored to the supporting or auxiliary structure (it cannot just be laid on plasterboard grids, etc.) We wrote an article about the issue of compositions here .
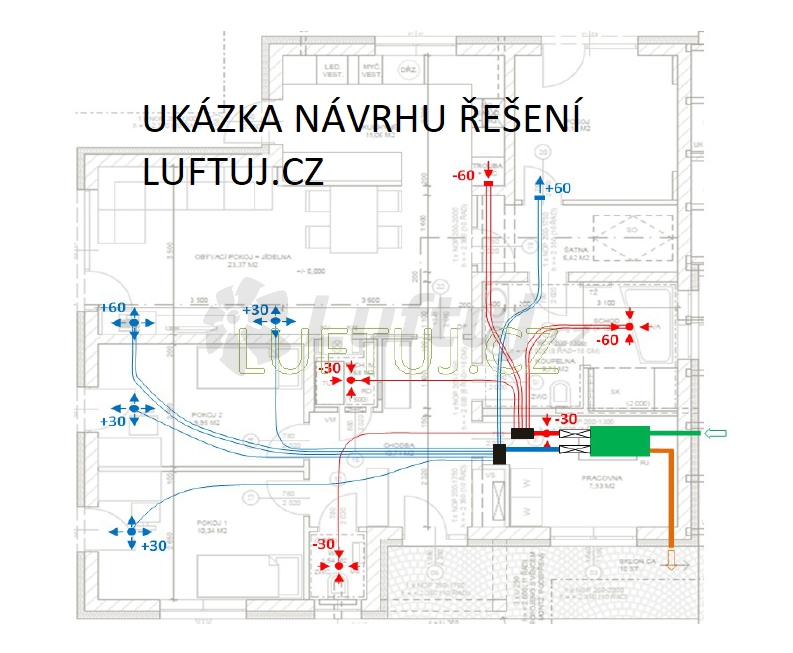
In short, each building is different and requires a different design of the system. We will be happy to advise you on this.
Once you have a proposal/project that you and the technician have agreed upon, the technician can draw up a material list and a price quote for you. Thanks to this, you have an accurate idea of the types of components, their materials and the price of distributions. Of course, the inventory does not have to be 100% accurate (the situation on the construction site is often a little different than what is visible from the floor plans and sections), so I recommend that you measure the pipe routes on the construction site itself and, if necessary, adjust the inventory with the technician.
Now you have a plan according to which you can assemble and you know what material you will be working with. Now you can start preparing penetrations on the construction site, dimensioning the routes of pipes and their possible fittings. If you have the right preparation, nothing can surprise you during assembly, at least I hope :-)
You are at the stage when the material has arrived for your construction. There are a number of boxes in front of you, which are full of various parts and tens of meters of pipes. Of course, this should not surprise you, because you have mastered the preparation and you know exactly what each component is for and how it is assembled (if you are still confused, ask a technician). Now all you have to do is the assembly itself, which for you will be like assembling a kit according to the instructions.
Of course, you can say that everything sounds too simple and in practice it can be different, so in the next part of the article we will go through how it really happens in practice. We will demonstrate this with a specific installation that we recently implemented.
II. Installation in practice
To put you in the picture, this installation was really a typical installation of a recuperation system in a bungalow-type house. Typical components used for this type of assembly were used (I will introduce you to the components below).
The installers who came to the site were basically in the same situation as you will be. They arrived at the construction site and had a plan, material and a technician on the phone who was designing the system.
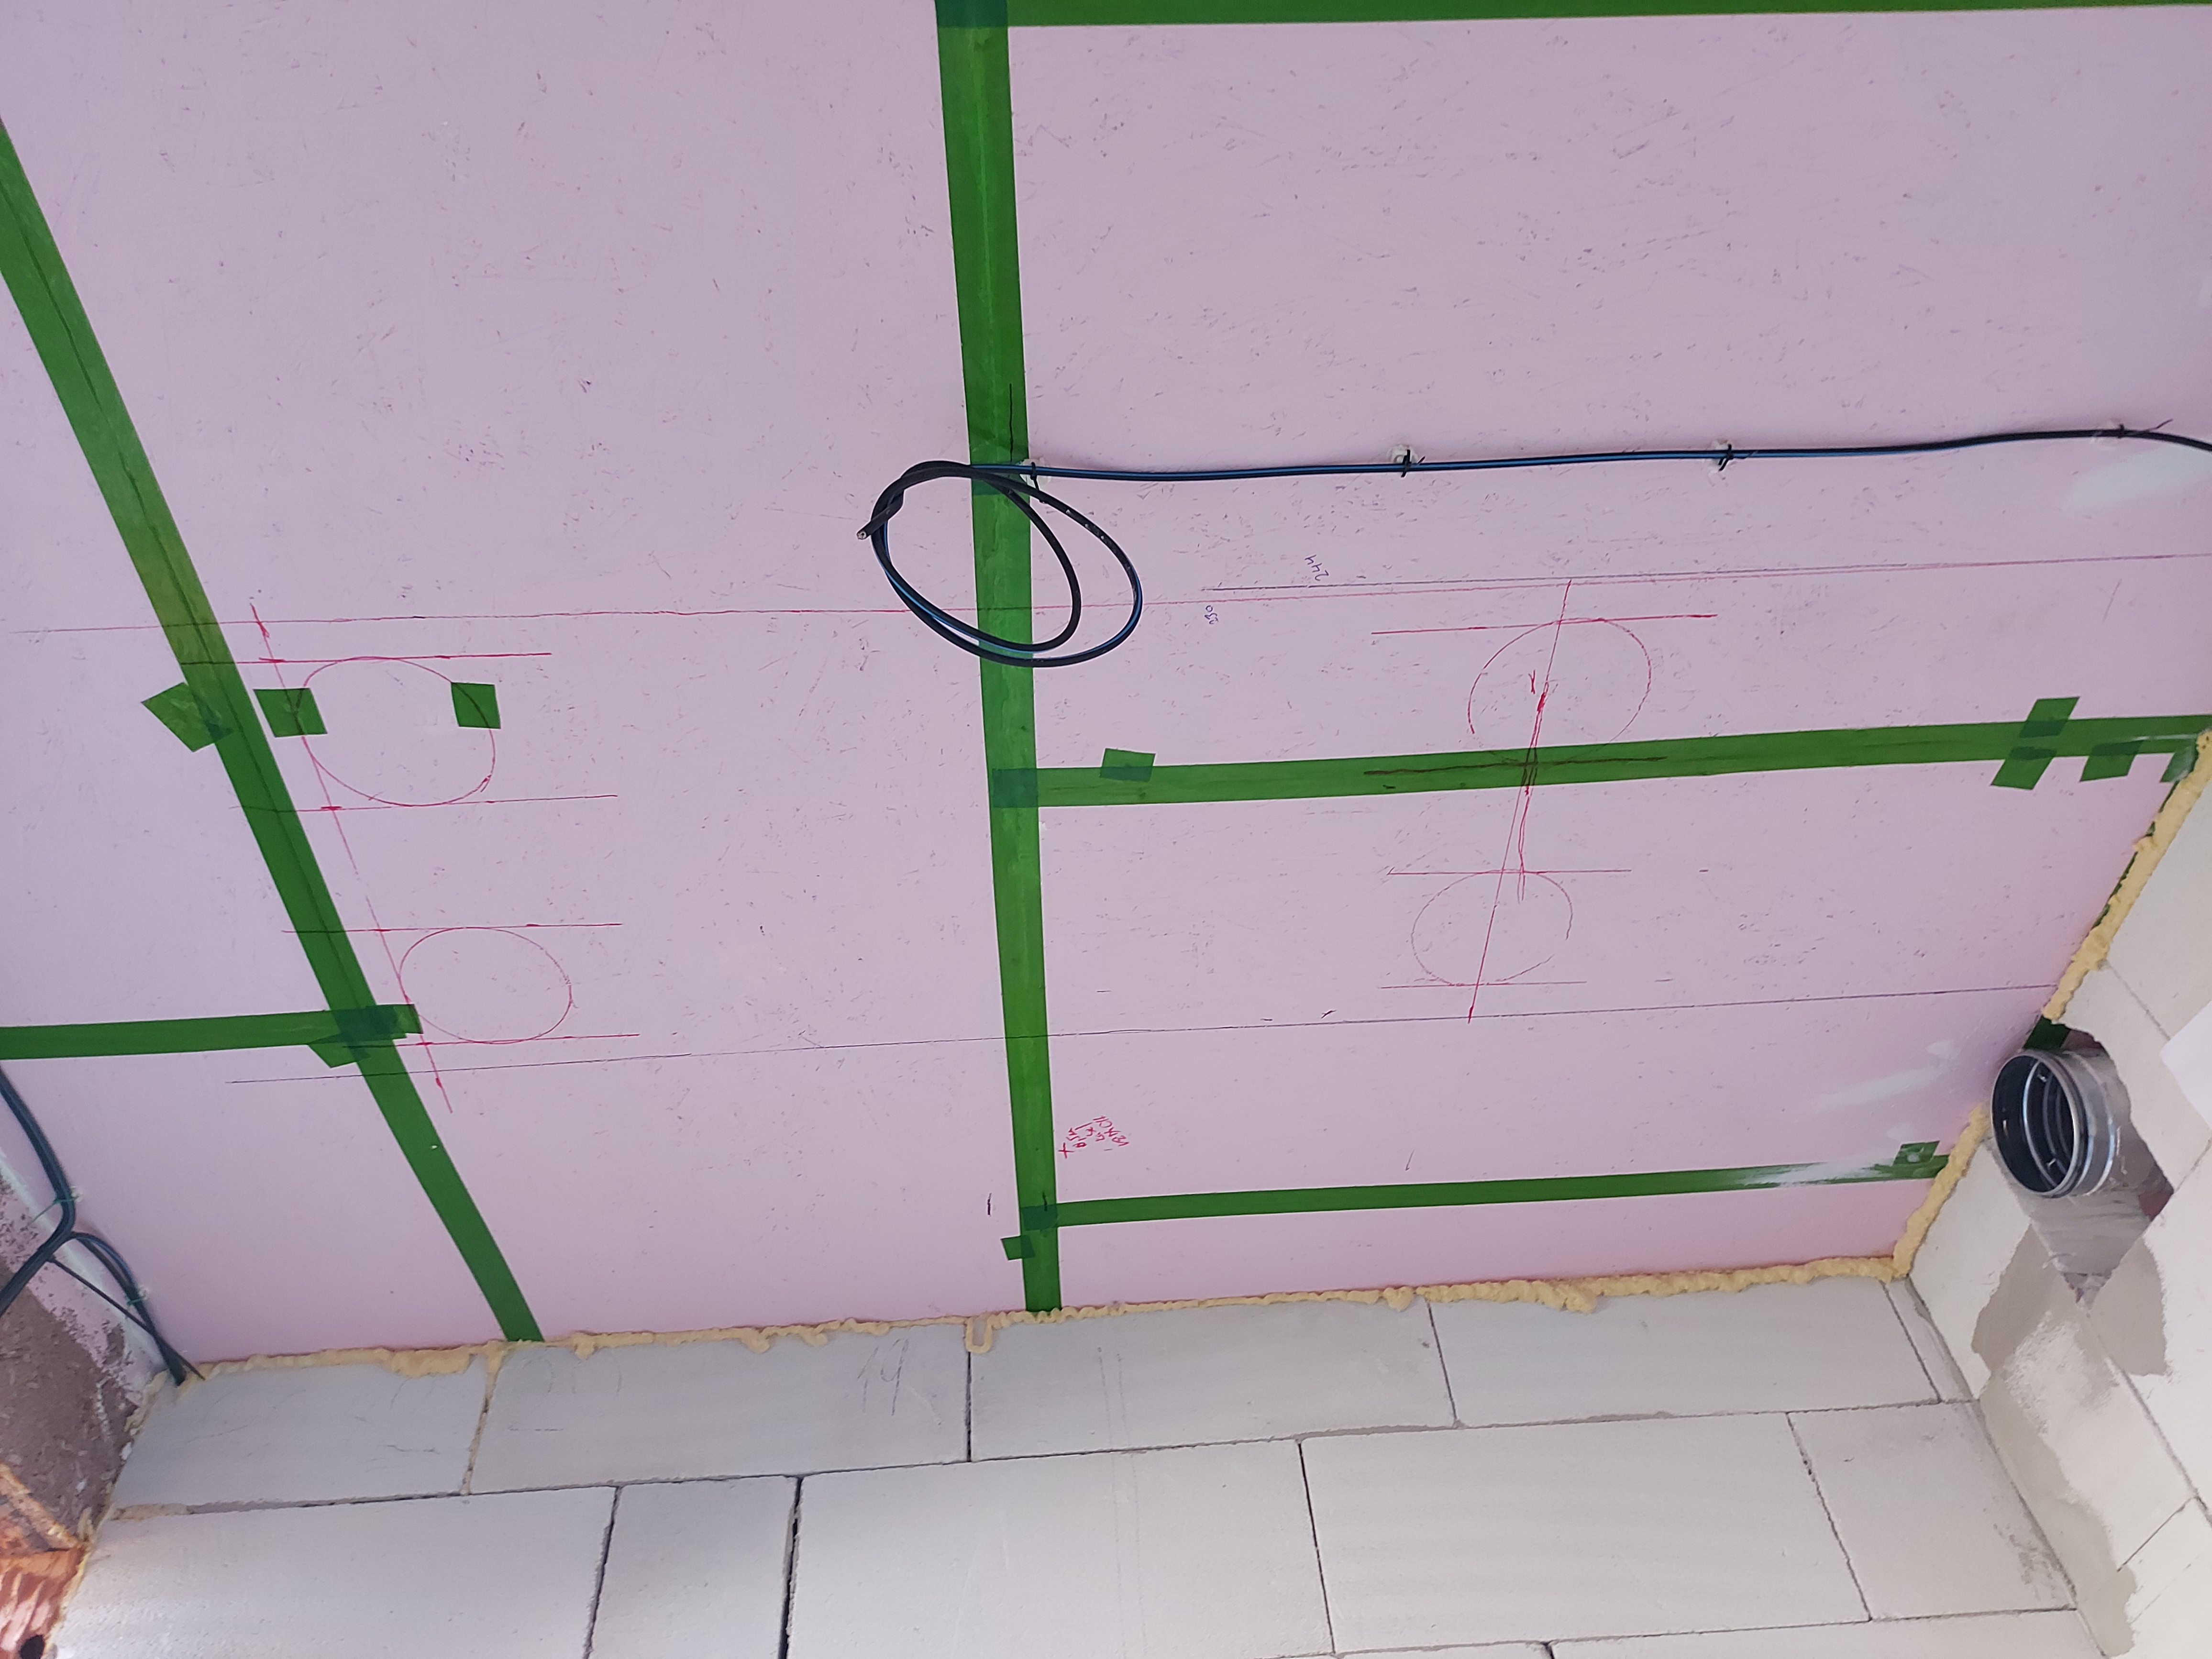
The assemblers first started by checking the material to make sure that nothing was missing. Then they started measuring. They plotted the location of the unit and the position of the throats. The following was important to them:
- What type of ceiling will they be anchored to (more on this topic in the article HERE ).
- Where the unit has access to regulation and where the cables will go.
- Where the unit has a condensate drain connection and where the drain will go.
- If they do not come into conflict with the management of other professions (waste, electricity, heating, etc.)
- Access to unit filters and service access.
Subsequently, they began preparing the pipes for the intake and exhaust. They used insulated pipe EPE 160 , which is supplied in tubes of 2 meters. The pipe is not flexible, but due to its flexibility, it allows a slight measurement inaccuracy and can be cut with an ordinary folding knife. A competitive system to EPE is, for example, ADURO . You can find their comparison in the articles here:
Pipes for intake and exhaust: EPE or ADURO part 1
Pipes for intake and exhaust: EPE or ADURO part 2
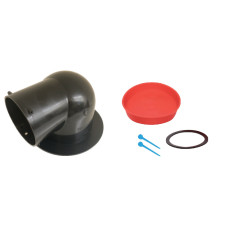
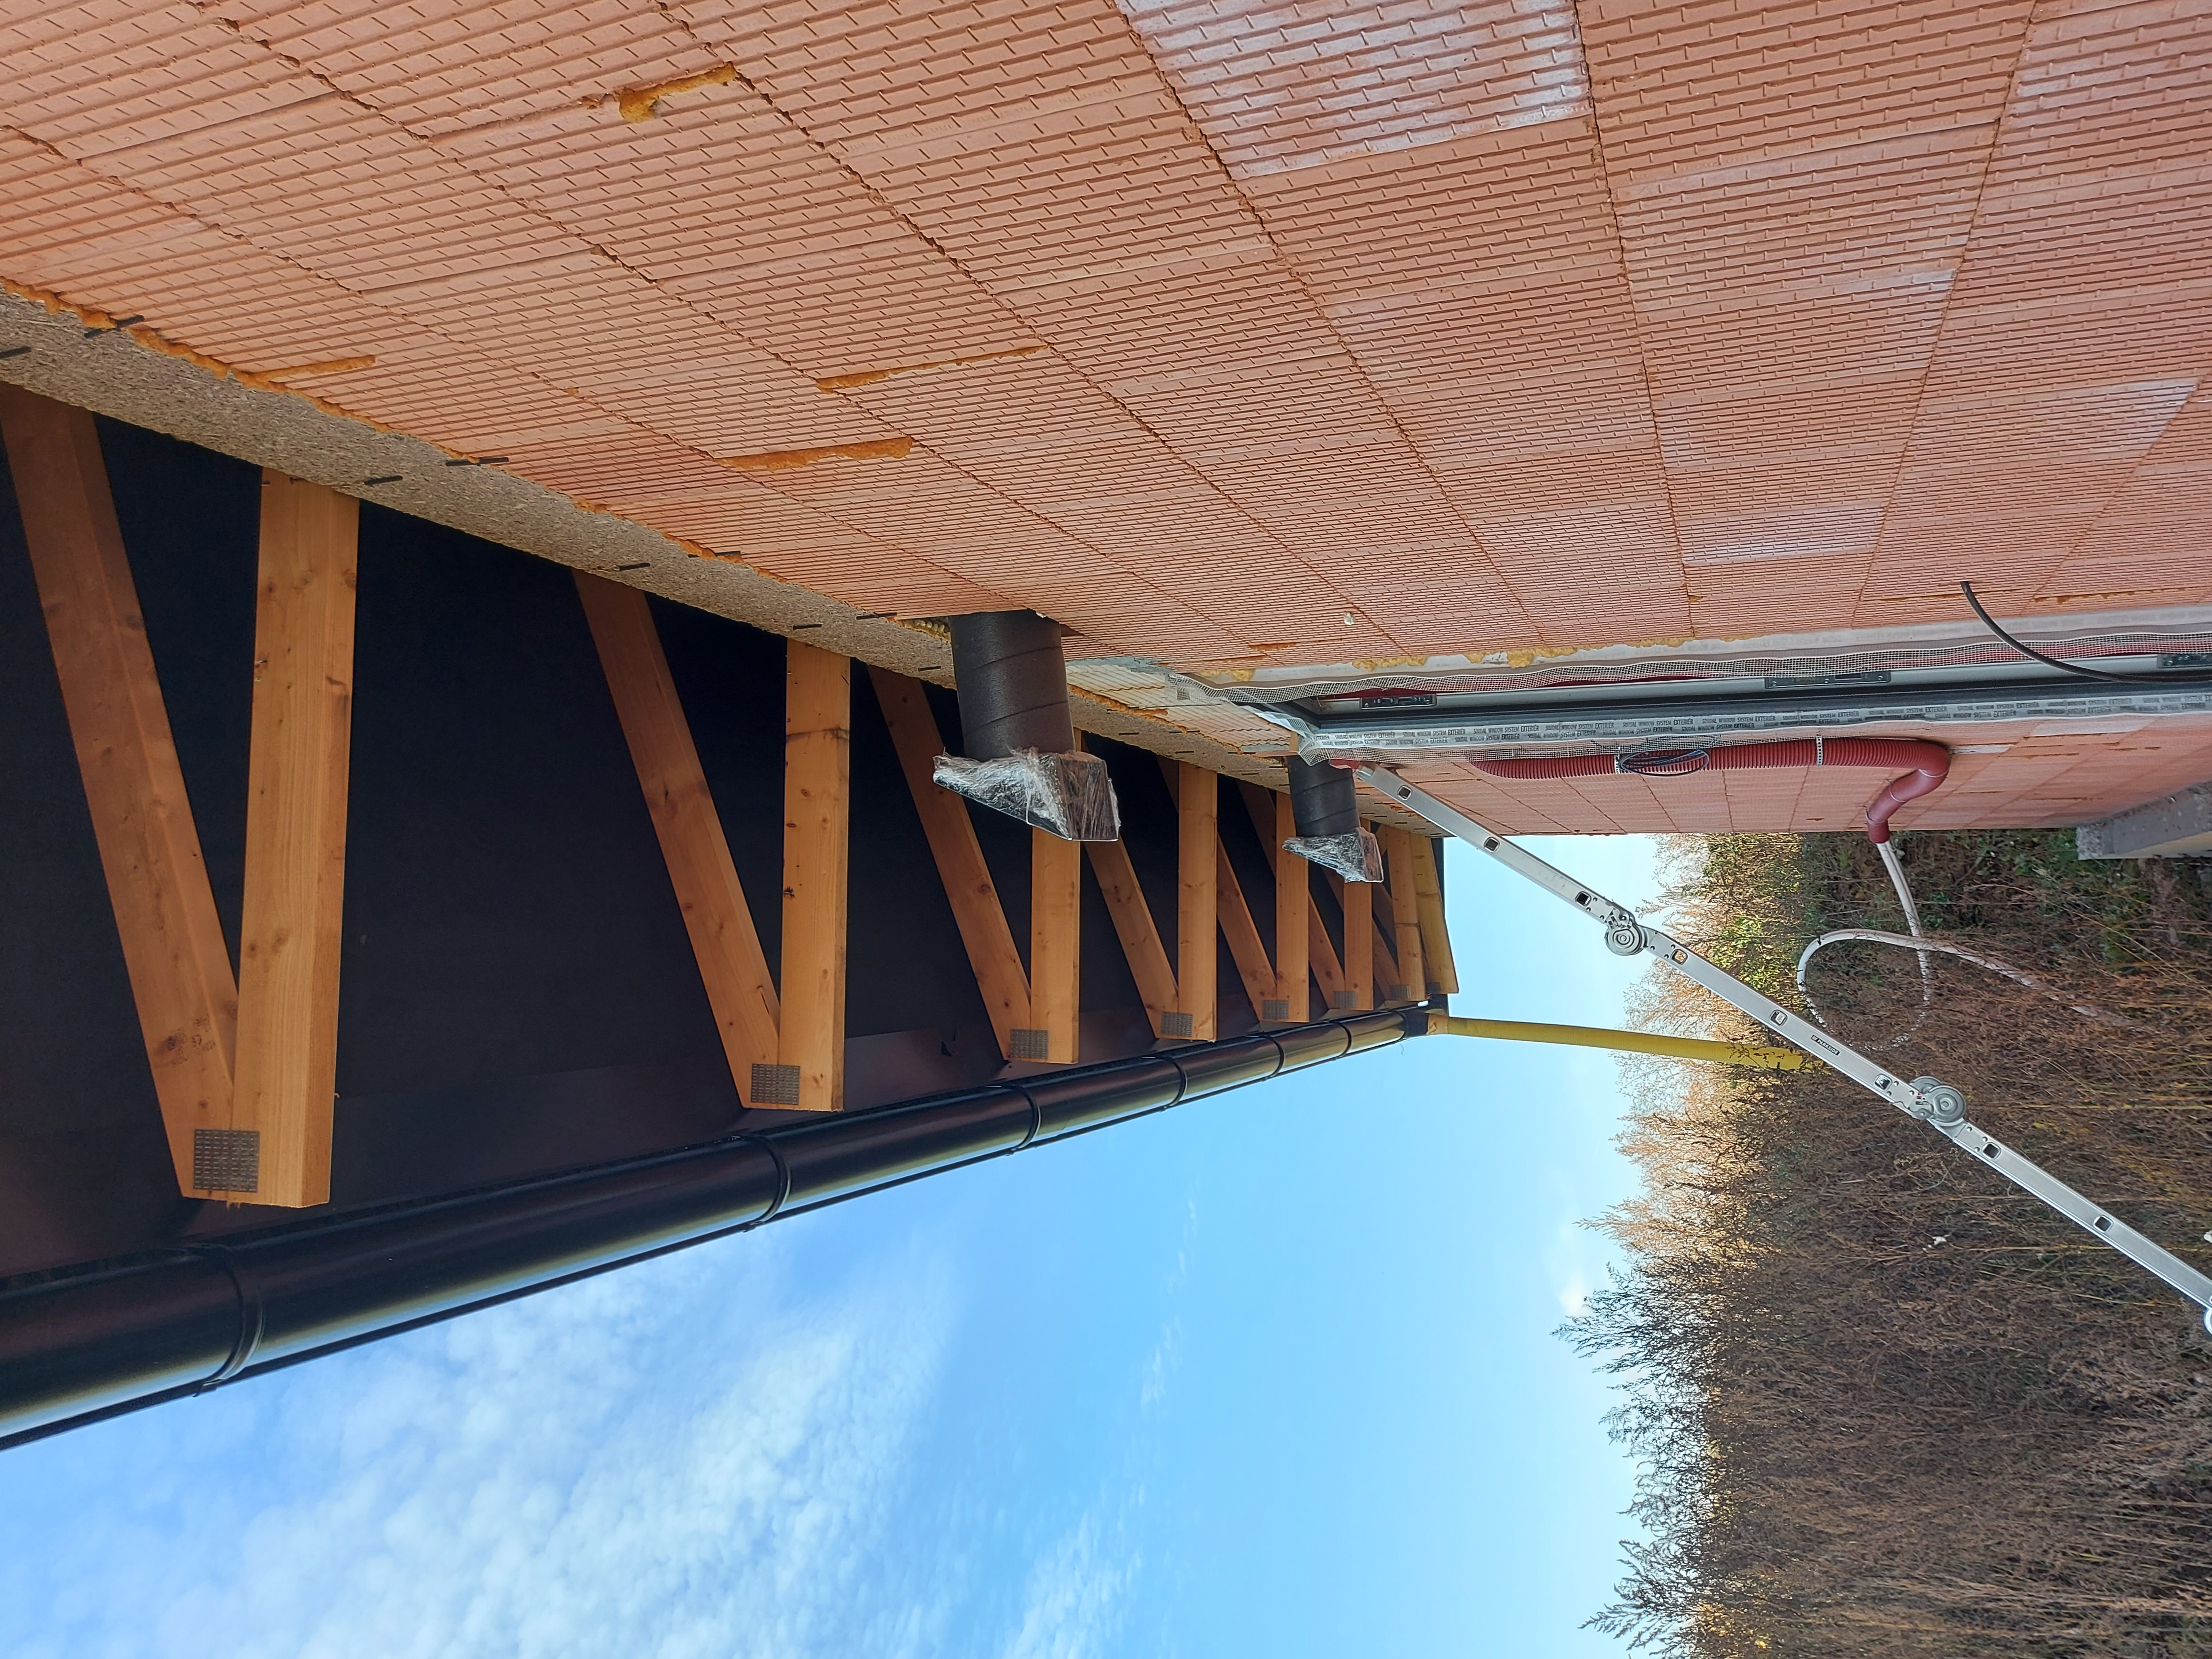
The EPE system has elbows with radii of 90° and 45°, thanks to which they can combine these elbows. However, it is ideal to use as few sharp angles as possible, therefore, if possible, we prefer to use 45°. All pipe connections are made using system nipples and anchoring using system holders. When anchoring the EPE pipe, it is necessary to pay attention to the distances of the brackets, if the anchoring distance is longer than 1.5 m, the EPE tends to sag. So always anchor with this phenomenon in mind. As you can see in the photos, once they got the pipes out, they left a slight margin in length and slipped the check valves in ( pay attention to the orientation of the flaps, manually check if the intake flap opens inwards and the exhaust flaps outwards ). Finally, they blinded both routes with OSH facade grids, which they left in a protective film against damage. If you haven't selected the grids yet and are waiting for the facade, you just need to blind it in another way (mainly don't forget this, you don't want a family of birds to settle in your pipes).

Next, the fitters moved on to internal distribution systems. They started by installing galvanized distribution boxes (hereinafter referred to as the distributor). Distribution boxes are either typical (in this case KLOQ 6x90/160 ) or atypical , which we can custom-make for you. They attached them using our mounting kit and connected flexible SonoDal silencers to the connection sockets. These silencers are, in our experience, currently the best choice for system noise reduction. In this case, the distance between the unit and the distributor is short enough so that it is possible to connect the distributor from the unit only with the help of a damper (if the distance is longer, longer dampers or e.g. SPIRO or MASTERFLEX pipes can be used). Cleaning and the cleanability of the entire system is very important and often neglected. We always take this problem into account when designing the system. More on this issue in these articles:
- Cleaning of air conditioning in a family house
- Maintenance and service of the ventilation system with recuperation
- How to prepare the recovery system for service
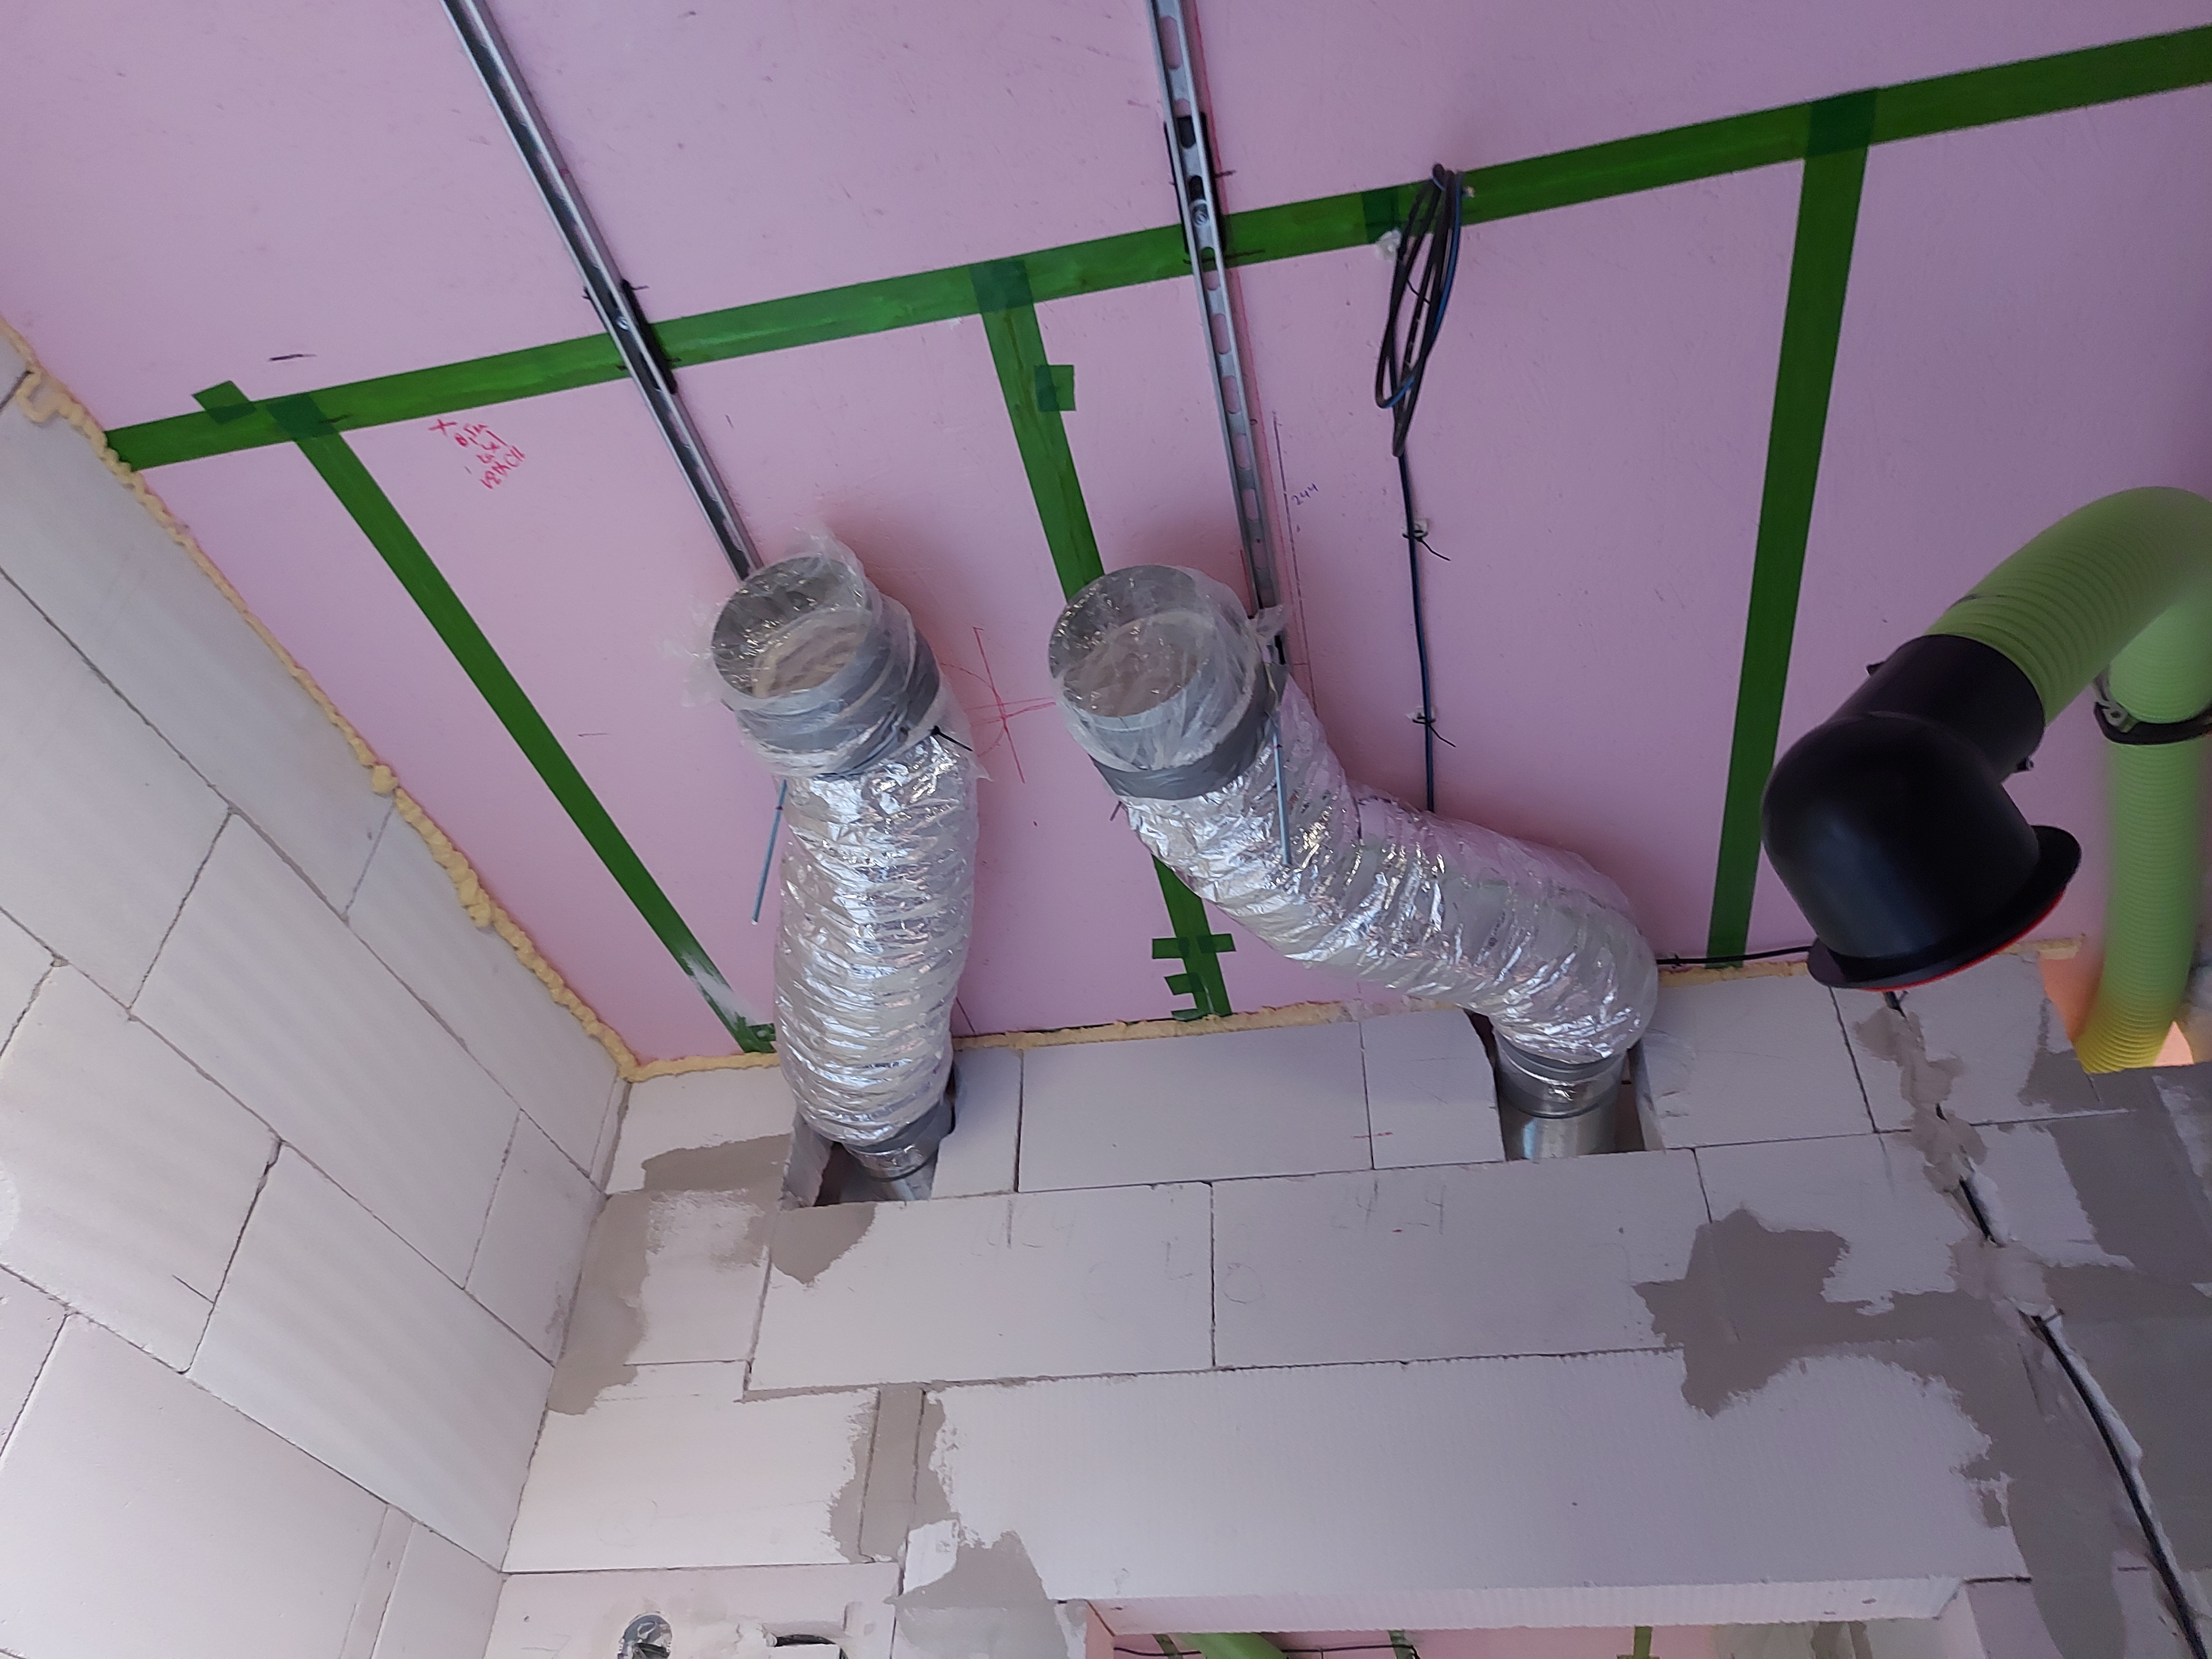

Now all they had to do was " stretch" the flexible pipe . Since the pipe is flexible, it really allows a lot. Just avoid very sharp angles and always try for the largest possible bend radius . It is also ideal to have two people for easy assembly of the flexible pipe. One, in the room where the route ends, unwinds the pipe from the roll and the other pulls it to the distributor. A gasket is placed on the end of the pipe near the distributor and the pipe is inserted into the distributor neck. In your case, the distribution box may have one or more additional ports. In this case, it is sufficient to cover the neck (e.g. with a cover of the corresponding diameter ). Subsequently, the joint is wrapped with aluminum tape for tightness and with DUCT tape for the mechanical resistance of the joint. The pipe must not lie freely on the grid , so it is anchored approximately every 2 meters along the entire route using holders or PZ tapes .


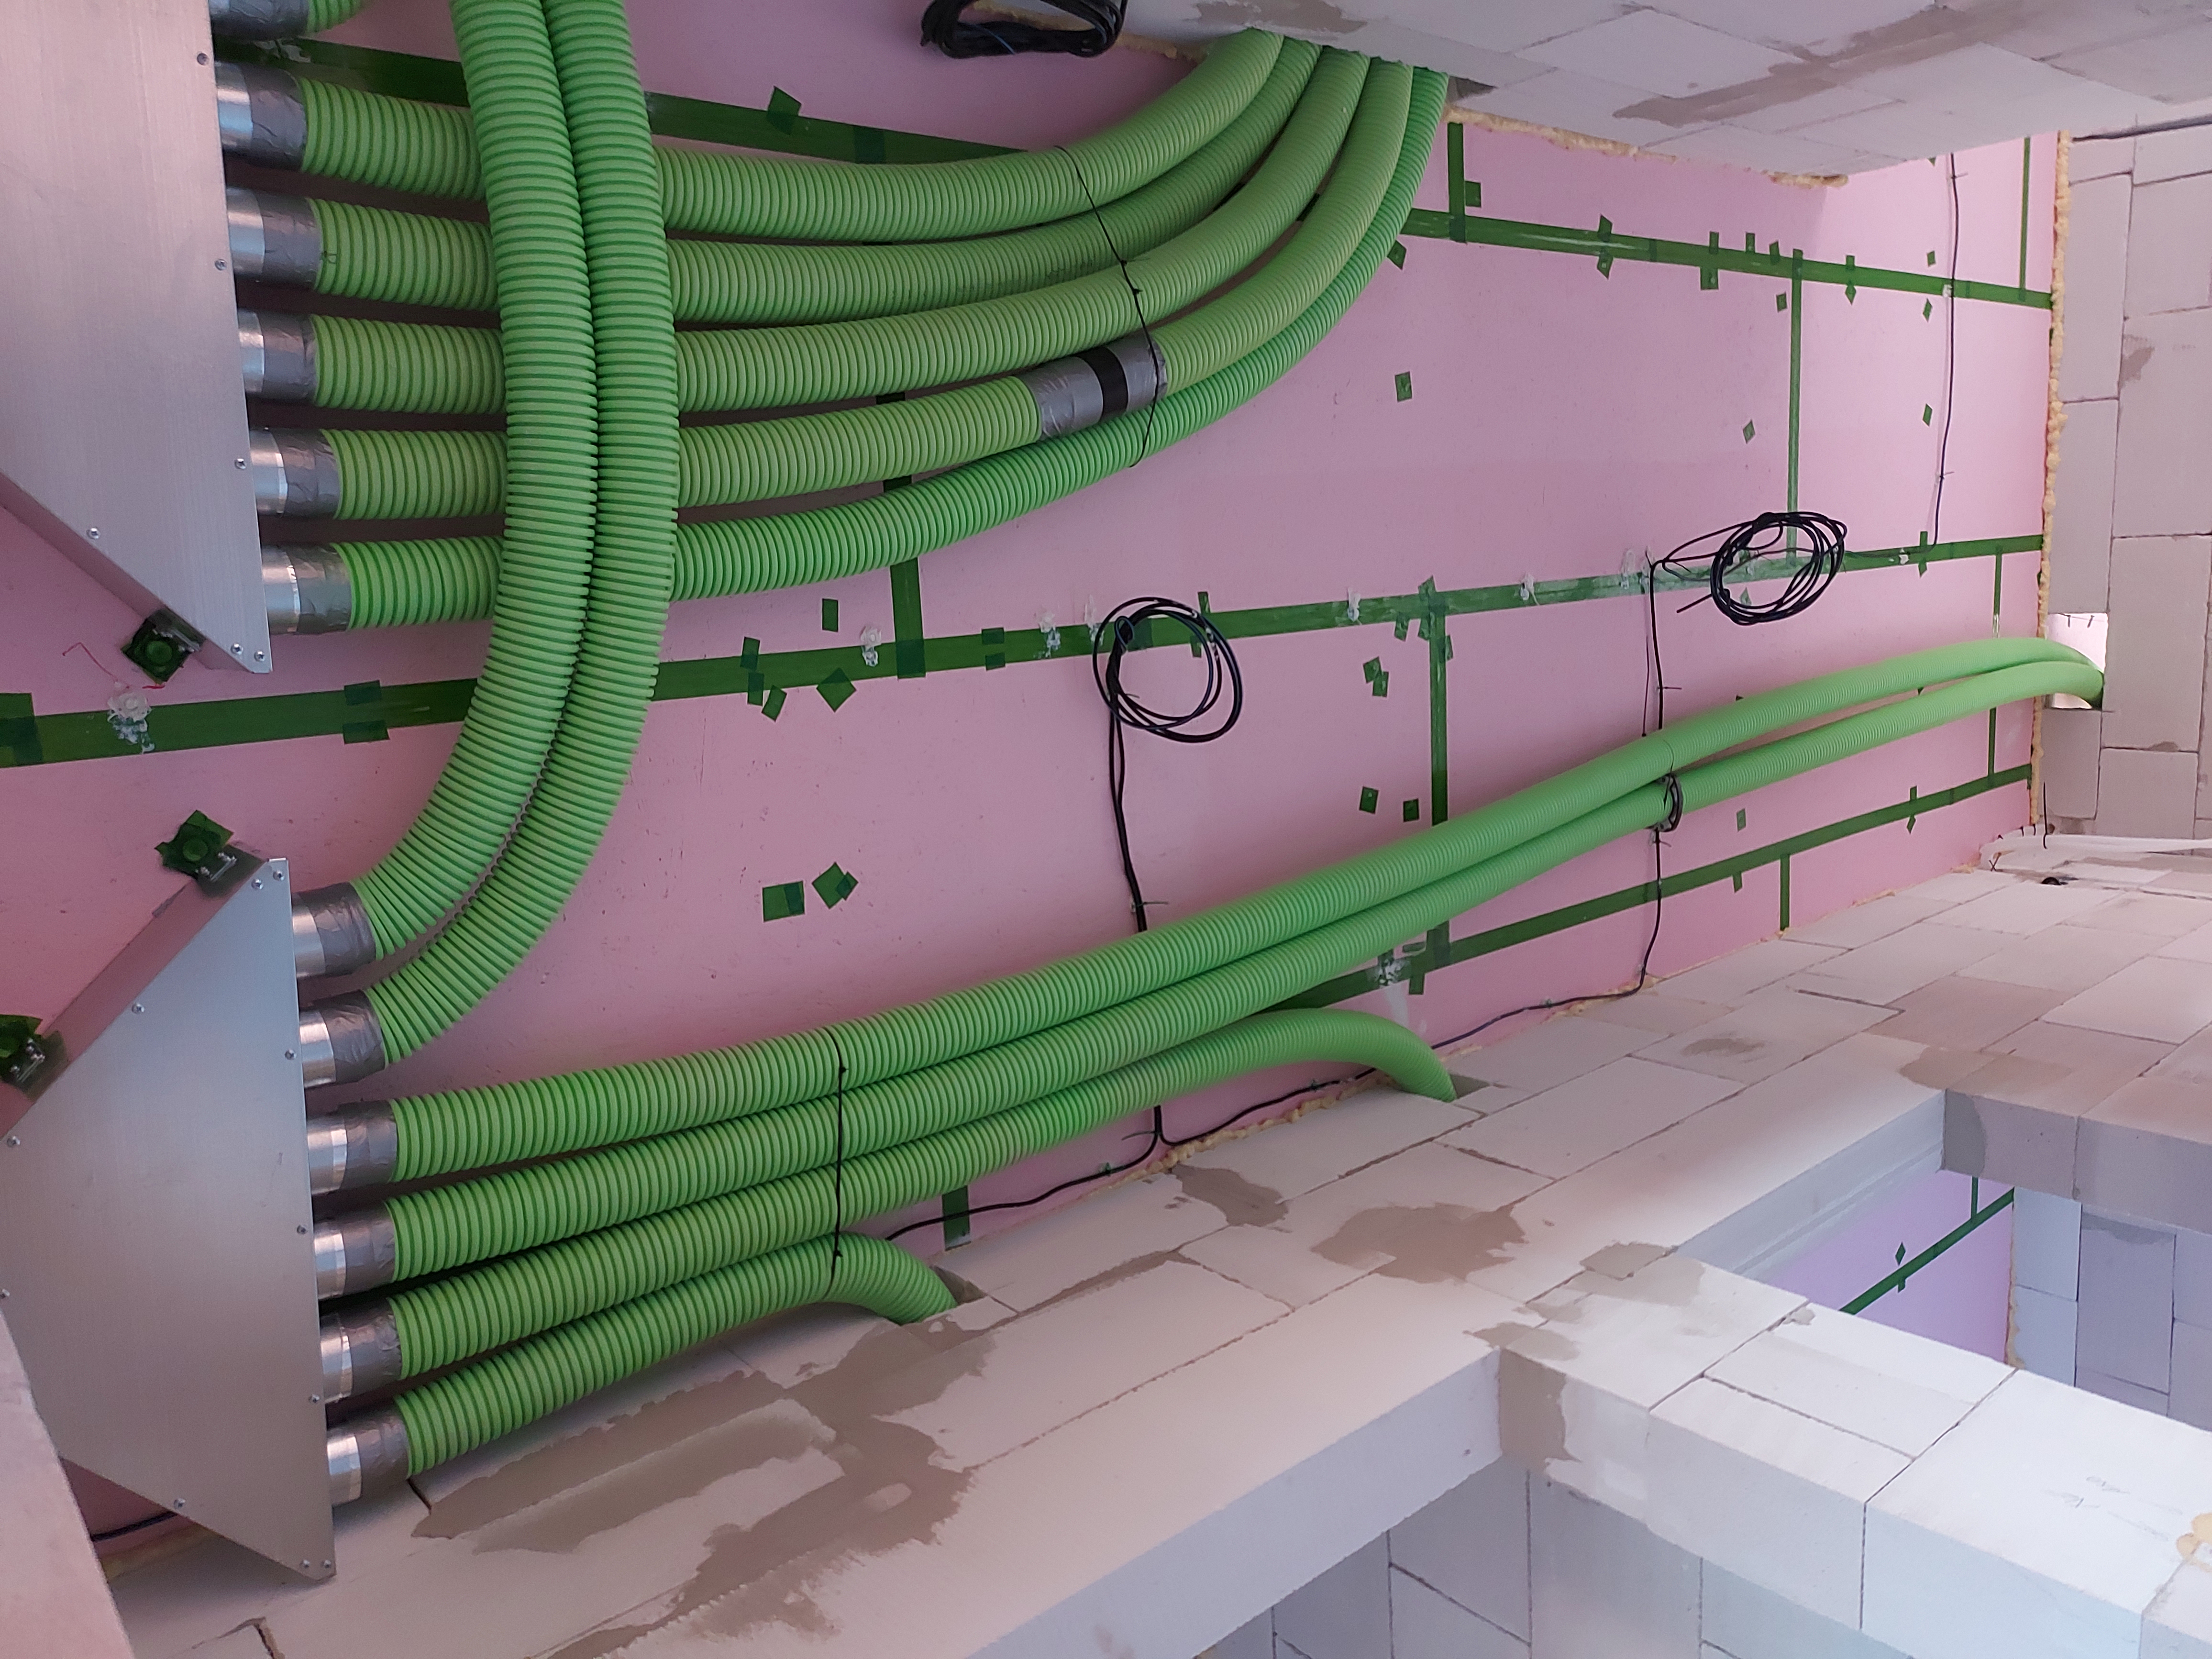
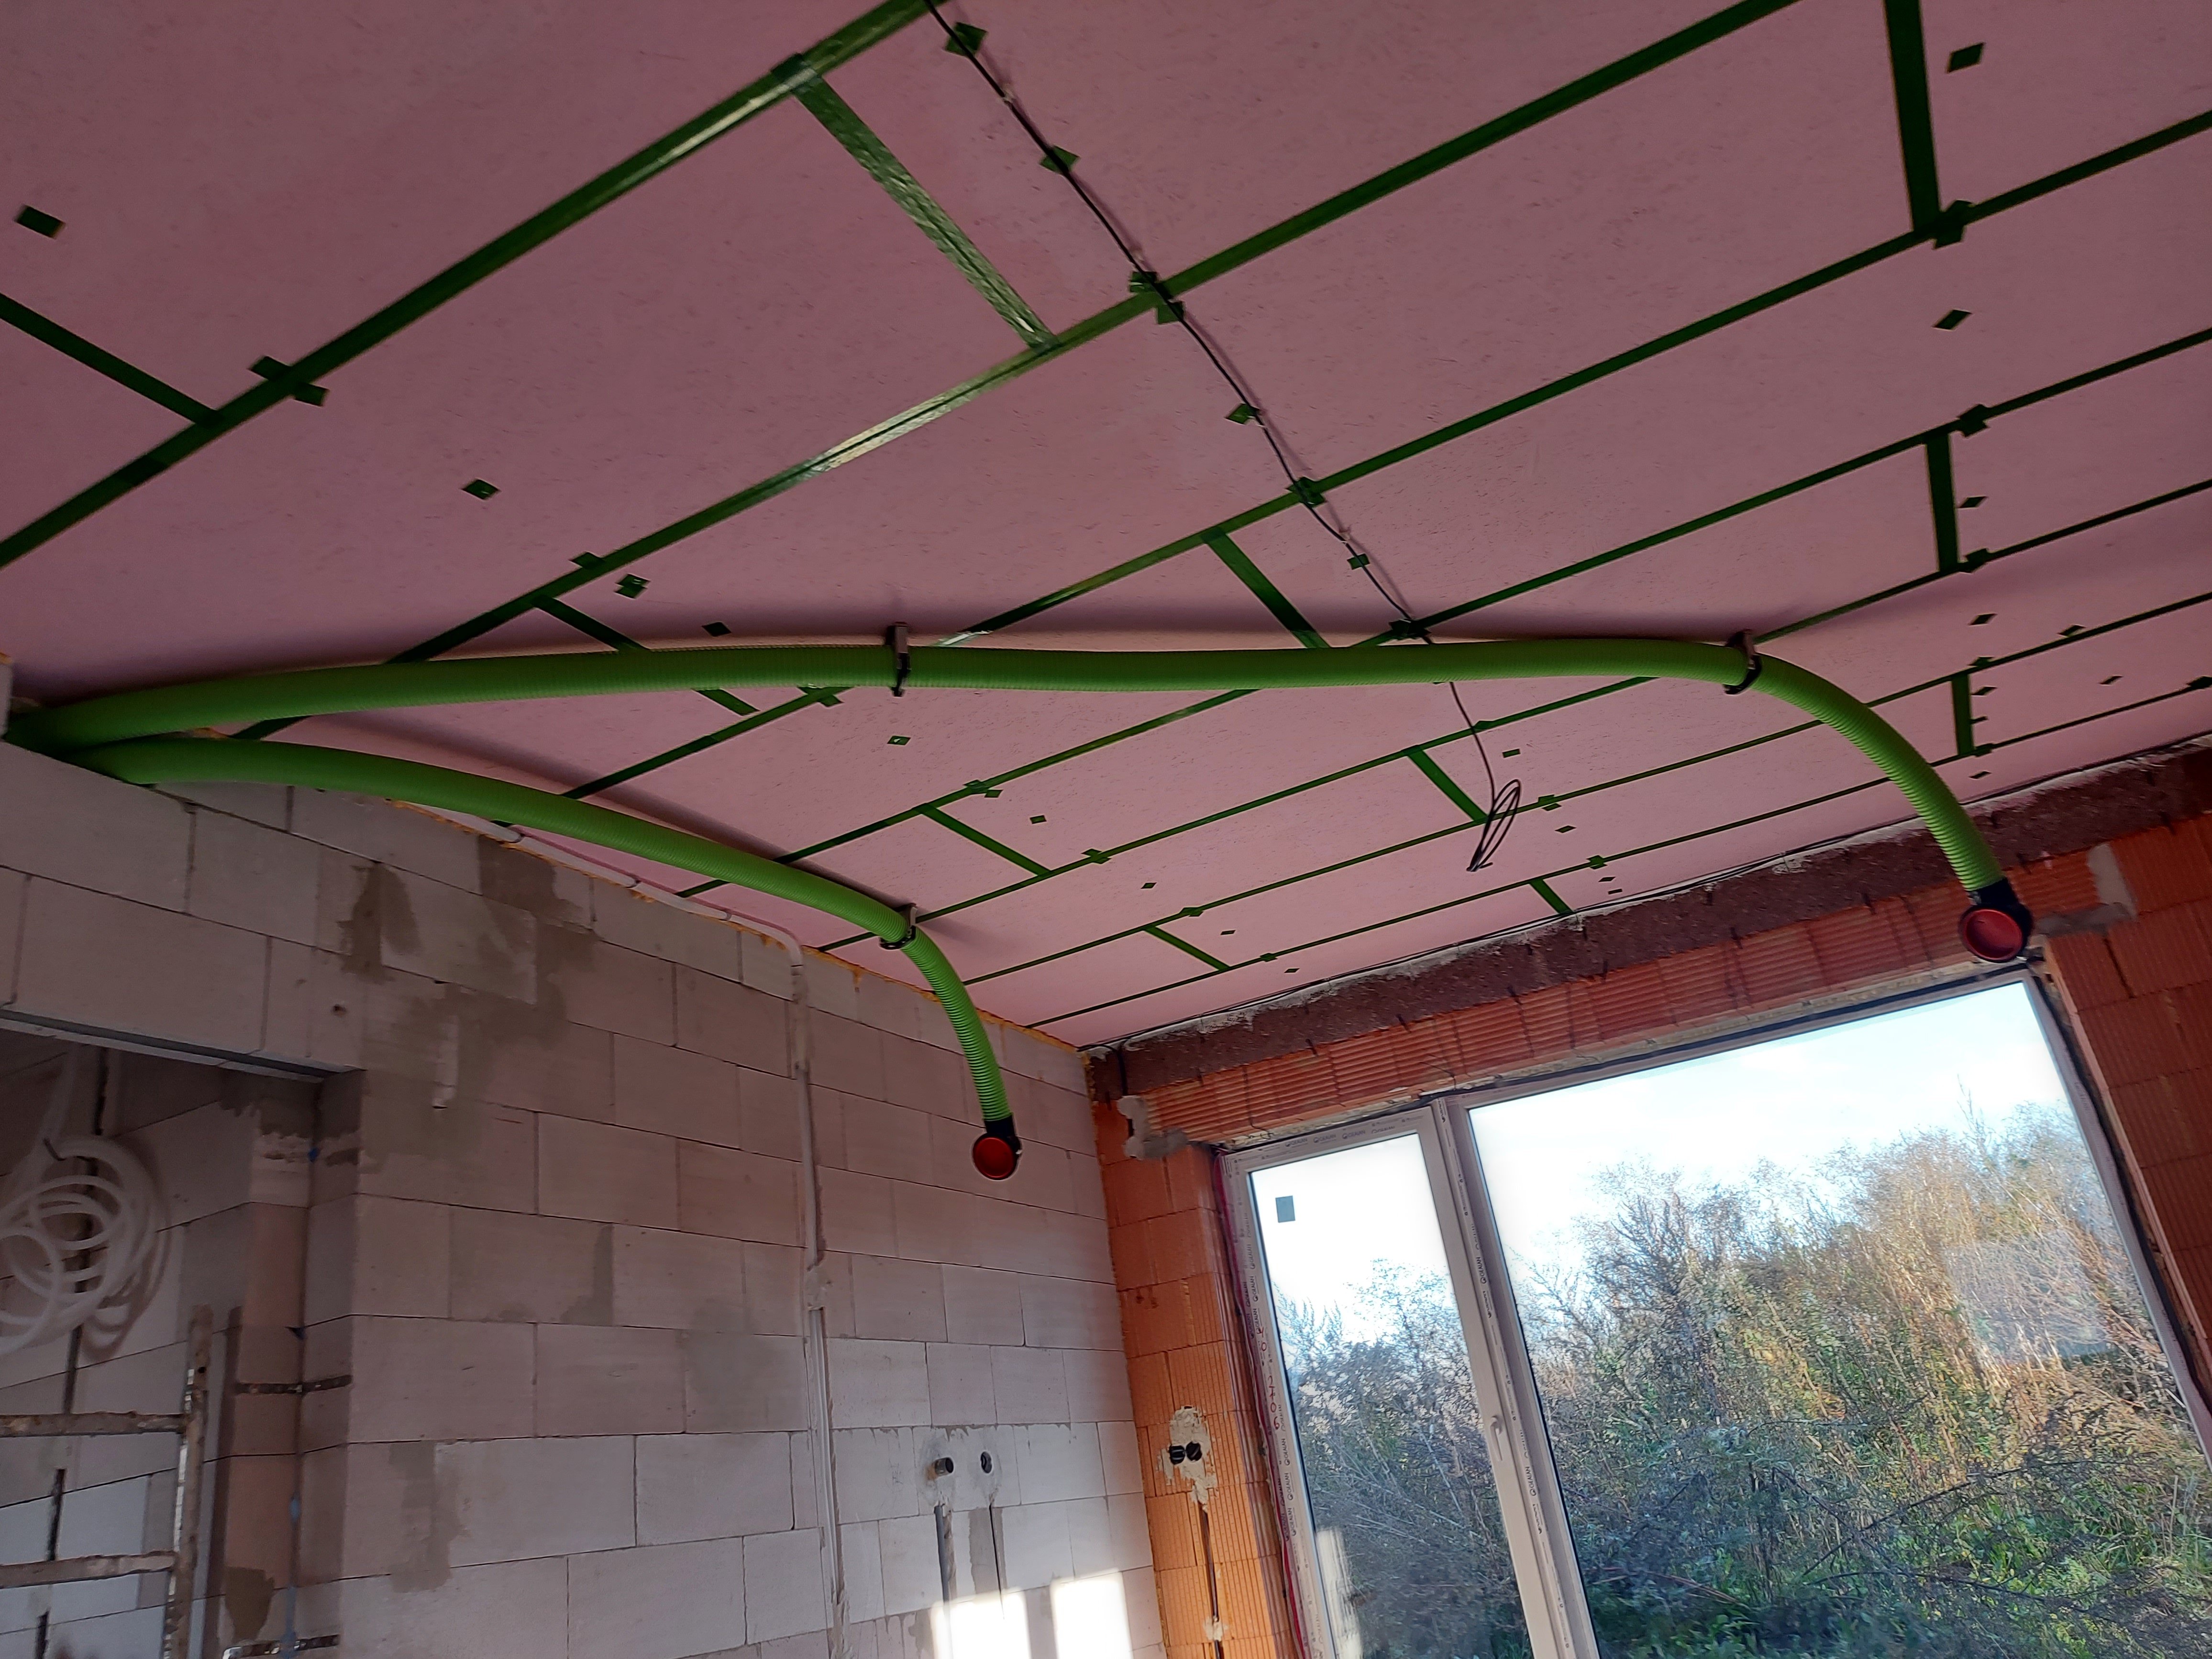
Since GTX ceiling boxes were used, the last anchorage is approx. 0.5 meters behind the box and the box was left to hang freely. The box is then pulled into the prepared holes in the SDK.
You may be wondering where the recovery unit itself is? It is installed in a clean environment when all construction work is finished . This is done as part of the second stage, when the technician starts the unit and regulates the system (it is possible to install the unit yourself, but really in a clean environment).
Electrical preparation, condensate drainage and assembly preparation is different for each unit. Therefore, consult your technician about the preparation in advance.
Before the arrival of the technician, who will connect the unit and regulate the system, it is necessary to complete all the preparations according to the documentation that you will receive in advance. At the same time, send photo documentation of the preparation. That is the mounted unit (if DIY), connecting pipes, circuit breakers for the unit, wiring prepared with the unit and other elements specific to the particular unit.
Components used:
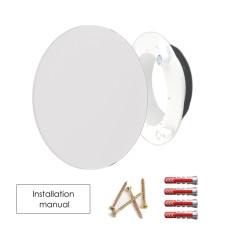
Recovery unit - VENUS AirGenio 300 EC
Intake and exhaust (pipe to exterior)
- Pipes for intake and exhaust - EPE (HR-WTW) 160 + fittings and system brackets
- Facade grids - OSH 160 black
- Check valves - RSKT 160
- Silencers - SonoDal 160
- Distribution boxes - KLOQ-6x90/160
- Flexible pipe - Dalflex 90 HYGIENIC
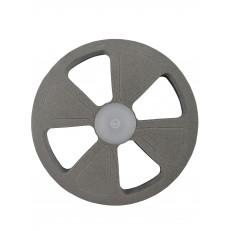
- Ceiling boxes - GTX 90
- Aluminum self-adhesive tape ALU
- Universal durable strong adhesive tape DUCT
- Steel perforated tape PZ
- Pipe holder for recovery 90
- Pipe coupling DN90
- Assembly kit for distribution boxes
The components used are specific to this assembly and may not be suitable in your case. You can choose alternatives in our e-shop or ask for help at info@luftuj.cz .
As I wrote above, every building is different and different components and solutions must be used. That is why we also offer technical advice. The technician can also help you with the installation itself by phone, by appointment.
Published on 01/04/2023
Author of the article: Vojtěch Helekal - Luftuj sro